
Hand Sectioning of Plant Material (Improvised Sectioning Tool)
Overview
Freehand sectioning with a single blade has a tendency to produce sections that are often too thick and irregular for reliable structural interpretation.
A simple improvised sectioning tool, from a design described by Microscopy UK, can be used to produce much thinner and more uniform transverse sections and can significantly improve the clarity of observed plant tissues.
The result represents a practical and accessible alternative to formal microtome sectioning, while retaining a strong element of manual technique.
Reference and Modifications
The tool is based on the design presented in the following article:
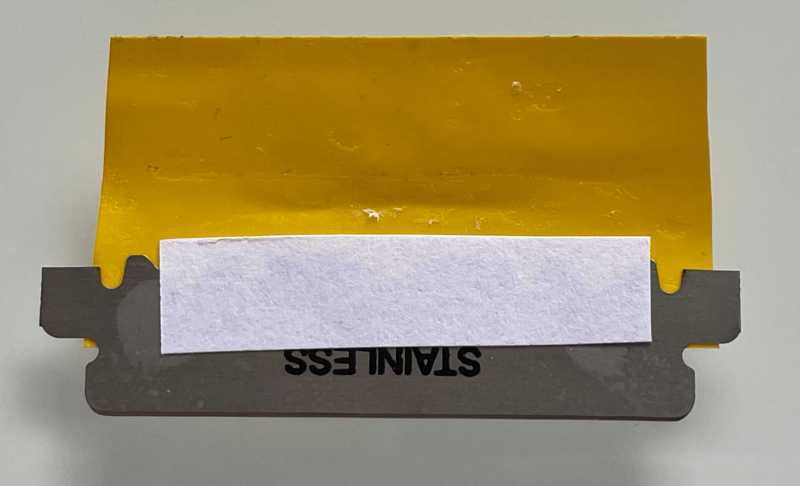
The design was modified by the introduction of a single-sheet thickness slip of printer or photocopier paper between the blades to provide separation. This improves the chances of very fine sections being captured between the blades without being compressed between them and, as noted below, in practice these can be some of the best sections.
Construction of the Sectioning Tool
Materials
- Two halves of a standard double-edged razor blade or, alternatively, two half-height single edged blades
- Electrical tape (or similar binding material)
- A small slip of printer or photocopier paper
- Two small bulldog clips
Method
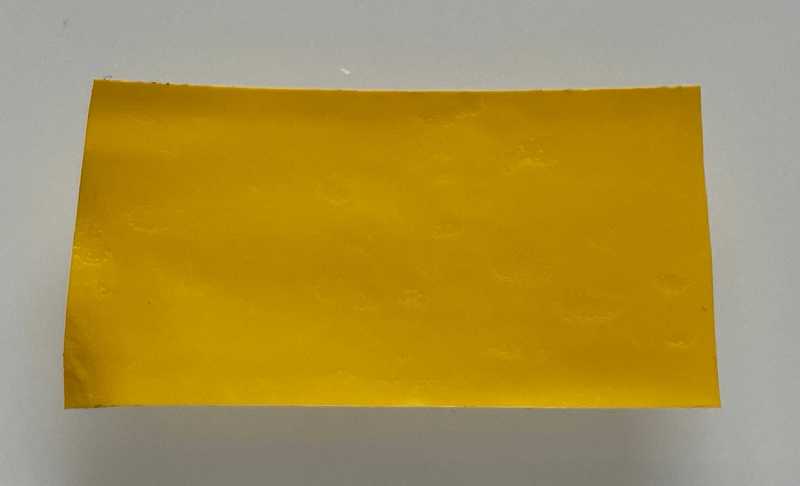
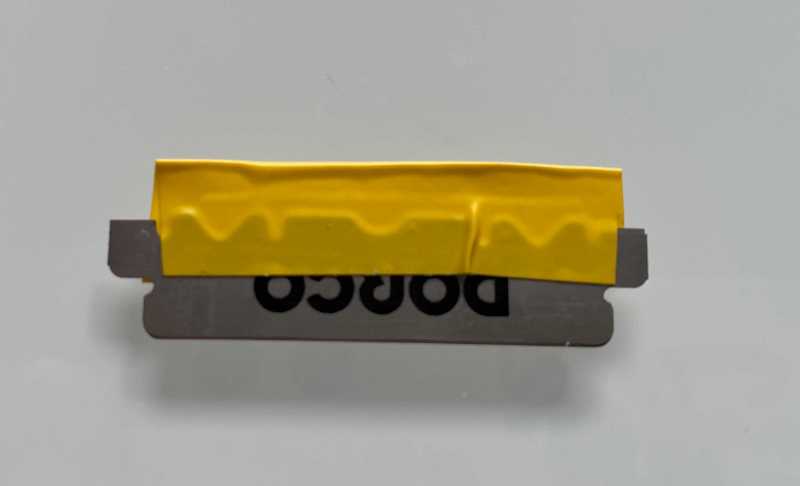
- A length of electrical or similar tape is cut to be just a little shorter than the width of the blade
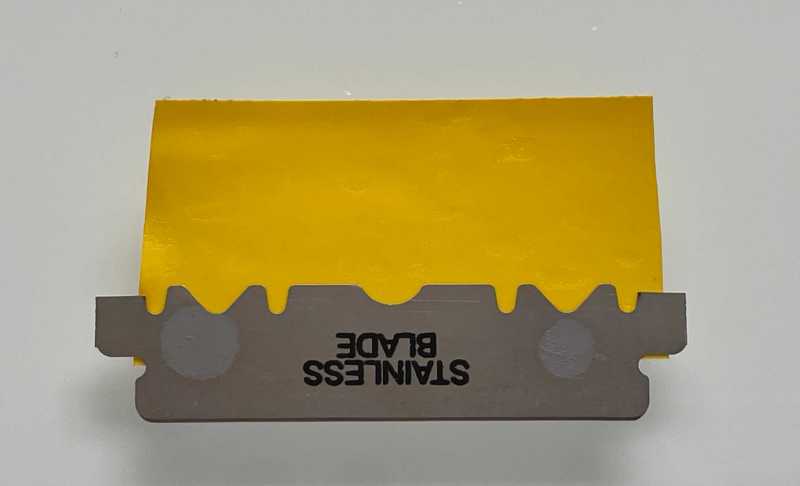
- The first blade is placed carefully along the bottom edge of the tape, making sure the cutting edge isn’t obscured
- A small slip of printer paper is laid carefully over the blade, makgin sure it will act as a separator but not interfere with the cutting edges or prevent cut sections passing into the gap between the blades
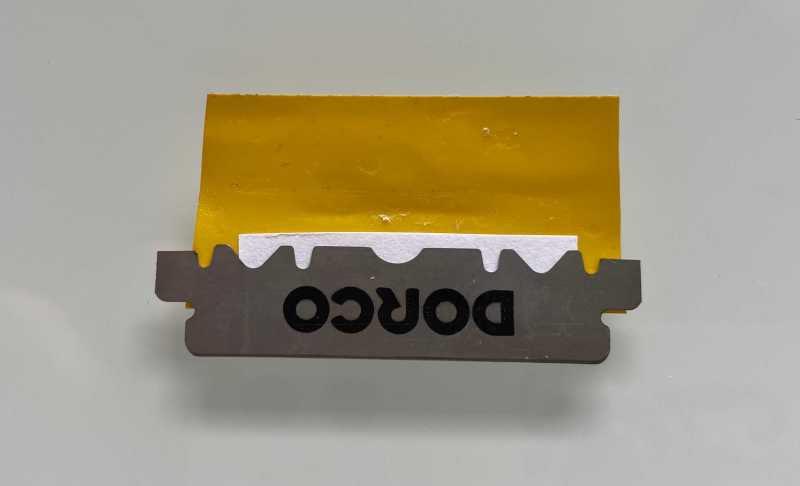
- The second blade is placed over the first, taking care to align the two as completely as possible
- The tape is carefully folded over and pressed onto the upper surface of the second blade, forming a “hinge” between the two blades
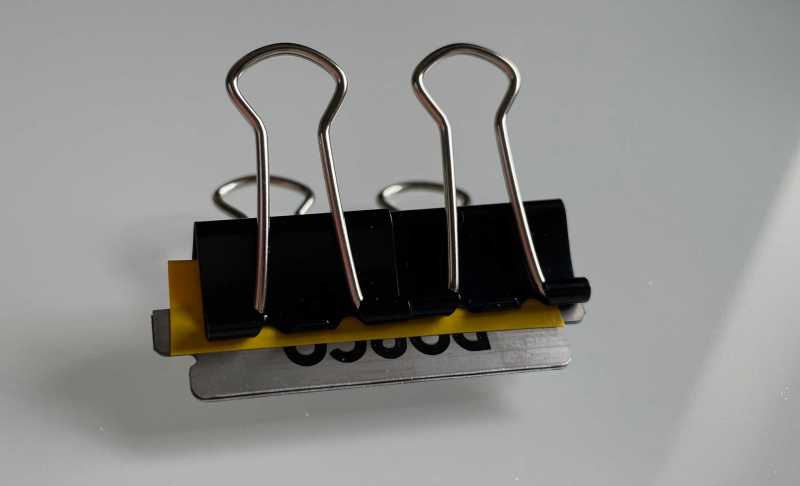
- Two small bulldog clips are used to clip the two blades togeter to maintain rigidity and prevent the blades from slipping during cutting
The resulting assembly forms a double-bladed cutting edge, which helps regulate section thickness.
Sectioning Technique
- The specimen (e.g. stem) is held firmly, in my case in a small amount of water on a glass slide
- The blade is drawn across the specimen in a smooth slicing motion, rather than pressed directly downward
- Multiple sections are cut in succession
- The thinnest and most uniform sections are selected for mounting, often being found between the two blades after sectioning, when they can be removed using a fine paint brush after gently prising the blades apart
Benefits Observed
The introduction of this tool resulted in:
- More uniform section thickness
- Cleaner outer boundaries (epidermis and cortex)
- Reduced tearing and compression artefacts
- Improved visibility of vascular structures
- Better photographic results
In particular, it enabled the transition from general tissue visibility to clear anatomical interpretation in transverse stem sections (e.g. Hedera helix).
Blade Replacement
Replace or rebuild the sectioning tool when:
- Sections compress before cutting
- Edges appear ragged or torn
- Tissue drags rather than slices cleanly
- Increased force is required to cut
- Section thickness becomes inconsistent
For routine work, blades may remain serviceable across multiple sessions. However, for plate-quality preparations, the use of freshly assembled blades is recommended.
Limitations
Sections are still thicker than lab microtome preparation but for field and home microscopy the method represents a substantial improvement over freehand cutting.
Safety note: These methods are shared for general educational interest and assume careful, small-scale work with simple equipment.
Use sharp tools, glass slides, coverslips, stains, and specimens with appropriate care. Avoid unfamiliar or potentially harmful material, and supervise inexperienced users appropriately.
This site is not a substitute for formal laboratory instruction. Please read the full Safety & Disclaimer before attempting this exercise.